

Some experiences are so precious, they simply cannot be described in words… Lucky we have emojis for that! Behold, A Comprehensive Guide To Our Reaction When Someone Brings Out A Cheese Board:
😯 😀 😃 👏 👏 🤤 🤗 🧀 🧀 🧀 😝 🧀 🧀 🧀 ☺️ 😌 😴
While we have a very equal-opportunity attitude to cheese (brie is just as welcome as vintage cheddar on our boards!), we will admit that some spreads are better than others. So, what does it take to nail a deliciously tasty, perfectly flavour-balanced, Instagram-ready cheese board? Let us take you through the steps…
Step one: Pick your platter. Wood or slate? Rectangle or round? Big or small? (Just kidding, always big, obviously.) There are a lot of early decisions to be made that will affect the whole vibe of your cheese board, so choose wisely, friends. (And don’t be tempted to re-purpose your well-used wooden chopping board – it can taint the flavour of your cheese.)
Step two: Showcase a range of cheeses. The key word here is ‘variety’. A real crowd-pleasing cheese platter should tick off multiple categories (think aged, soft, firm and blue), while mixing up the type of milk used (cow, goat, sheep) and offering up at least one traditional option (vintage cheddar, anyone?). It might be tempting to go all ‘more is more’ on your cheese board, but stick to three to five varieties!
Step three: Add accompaniments. You’re gonna need a vessel to transport that scrumptious cheese from the platter into your mouth, and eating straight from the knife is frowned upon when you’ve got company, so don’t forget crackers or crusty bread. Fruit is also important for flavour (not to mention, Insta likes!) – sliced apple, grapes, cherries, figs or strawberries all go well with cheese and can act as a palate cleanser as you’re chowing down. And don’t forget about condiments – quince paste, mustard, honey, fruit preserves and pickles can make yummy additions.
Step four: The full antipasto. Ready to take your cheese to the next level entirely? Now is the time to pull out the salami, prosciutto, olives, nuts, asparagus stems and sundried tomatoes and move the goalposts from ‘light snack’ to ‘you’d better be hungry’.
Step five: Style it up. Chances are you’ve already got a good mix of colours, flavours and textures (see steps one through four), so now it’s time to make that platter shine. Cheeses in different shapes are ideal, but if you’ve got multiple round cheeses, consider chopping one in half for a different look. If a solid yellow cheese is unsightly, cutting it into strips or cubes could make it appear more palatable! Position your cheeses first (they are the stars of this show, after all) then add your accompaniments. But be careful not to overfill the cheese board – it wants be visually inviting and user-friendly.
Step six: Bon Appétit! Pour yourself a glass of vino and enjoy. ☺️


1. Cheese Board 2. Personalised Cheese Knife


3. Arrow Cheese Markers 4. Bambu Cheese Lover’s Set


5. Personalised ‘Eat, Talk, Share’ Cheese Board 6. Best Of Bitton Gift Box
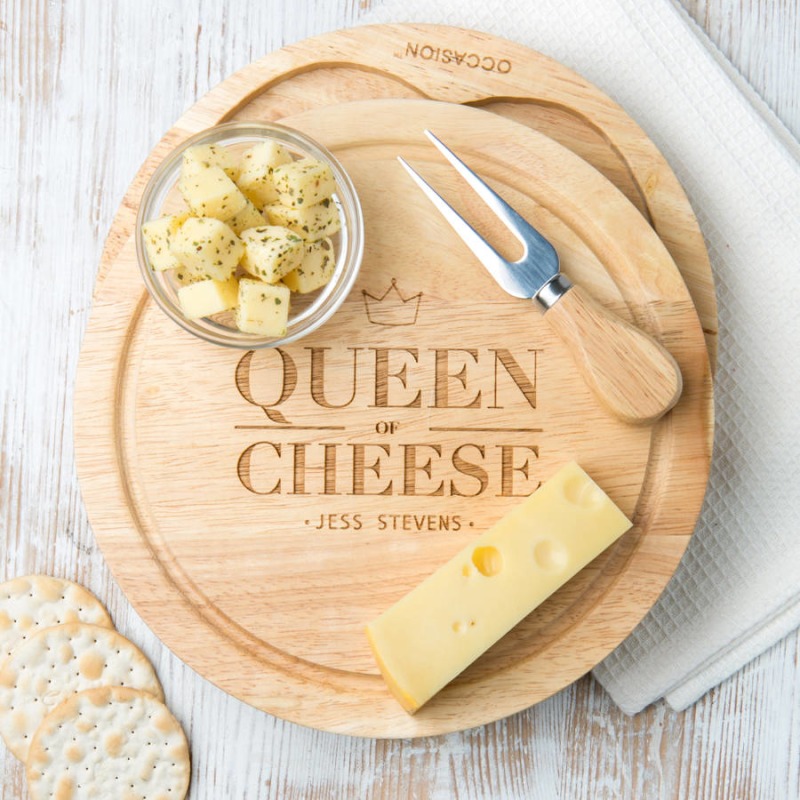

7. Personalised ‘Queen Of Cheese’ Board Set With Knives 8. Personalised Cheese Markers


9. Personalised Large Gumleaf Hardwood Serving Board 10. Chocolate Cheese Board
PS. If someone makes you a killer cheese platter, here’s how to say thanks and another important lesson in entertaining.
Hardtofind is Australia’s leading online curated marketplace for gifts, fashion and homewares.


